Making Fruit-Scrap Vinegar

By Patrice Lewis Don’t toss your fruit scraps, use them to make vinegar. Vinegar has an ancient history going back as long as 10,000 years and has been used as a cleaning agent, beverage, medicine, preservative, condiment, deodorizer, bathing agent, and even a construction aid (splitting boulders for road construction).
A Short Chemistry Lesson
Chemically, vinegar is the production of acetic acid through the fermentation of ethanol by acetic acid bacteria. The process is aerobic (requiring oxygen) rather than anaerobic. The bacterial culture is referred (rather insultingly) as “mother.”
Fermentation takes place in two stages. In the first stage, alcohol is formed. The fermenting material creates carbon dioxide bubbles, evidence that the microbes are at work. In the second stage, the alcohol turns to acid, aided by acetic acid bacteria (“mother”). The grayish scum that forms on the surface indicates the mother is at work.
Let’s Play with Garbage
My excursion into fruit vinegar came after canning peaches, pears, and apples. I looked at the scraps and decided to play with the garbage. After all, if primitive cultures could make vinegar — why not me? I did some research, and this is the result.
Use half-gallon or one-gallon jars to make vinegar. You can also use food-grade plastic buckets or ceramic crocks. Do not use metal containers.
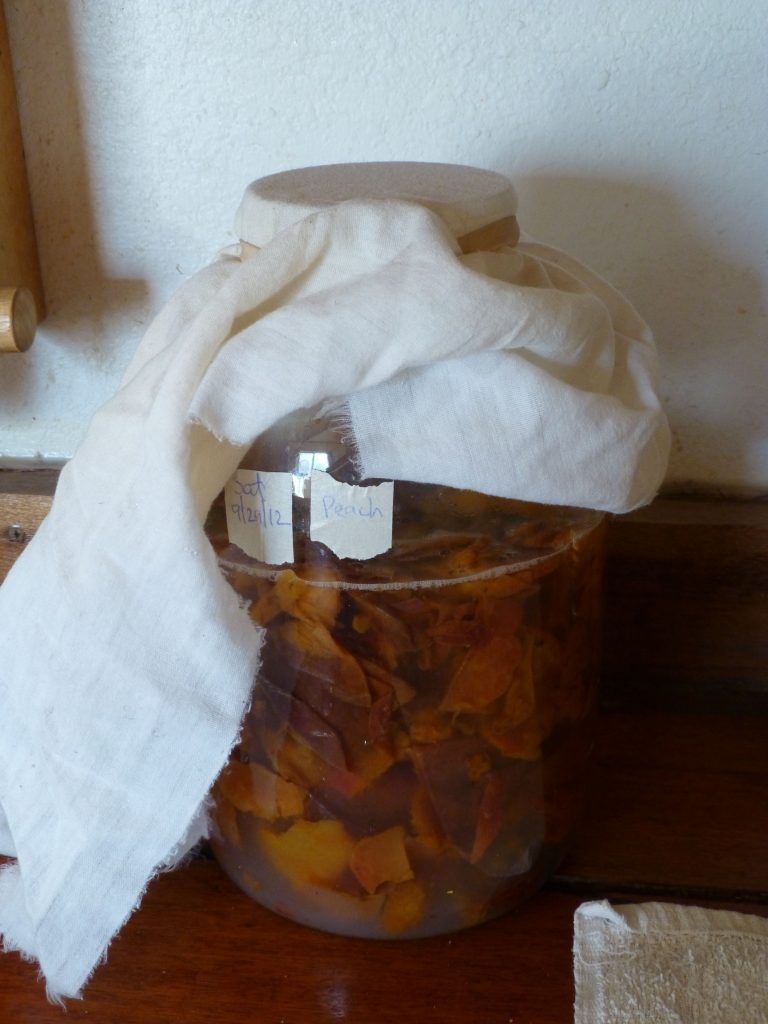
Fill the jar about two-thirds full of fruit scraps. Using non-chlorinated or distilled water, make a thin sugar syrup with a 16:1 ratio of water to sugar. (This means half of cup of sugar in half of gallon of water, or a cup of sugar per gallon of water.) Fill the rest of the container with the sugar water, then secure the top with a breathable fabric such as cheesecloth or squares of old sheeting. It’s also helpful to date the jars. Then place the container out of direct sunlight to ferment for about two months.
First Step: Fermenting
Within a couple of days, bubbles will form in the fermenting scraps. At this stage, vinegar is very much alive. The bubbles indicate the bacteria and wild yeasts are eating the sugars and producing carbon dioxide as a byproduct. Stir the mixture about once a day.
The cloth over the buckets not only allows the fermenting sludge to breathe, it also keeps out fruit flies and other insects, which will be attracted to the smell. Incidentally, the smell is very pleasant — rich and syrupy and just a wee bit sour.
The bubbling will decrease or stop when most of the sugar has converted to alcohol. A longer fermentation time is preferable because the higher alcohol content of the fermented fruit will discourage all but the proper acetic-acid forming bacteria.
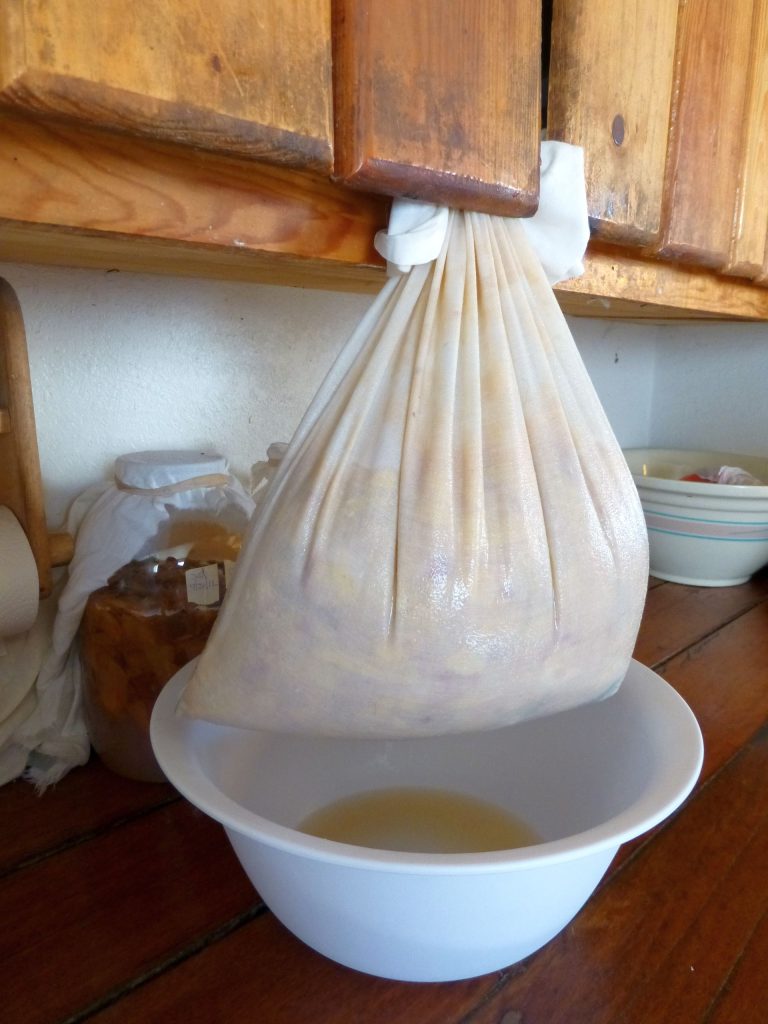
At the end of this stage, strain out the liquid from the solids. This may be a slow process. In my case, I suspended the mash in old, clean thrift-store pillowcases (do not use your good pillowcases!) overnight over a bowl, which allowed the liquid to drip out. For smaller amounts, pour the liquid into a strainer lined with several layers of cheesecloth or some clean old sheeting. This process will probably take several hours or overnight.
Second Step: Making Acid
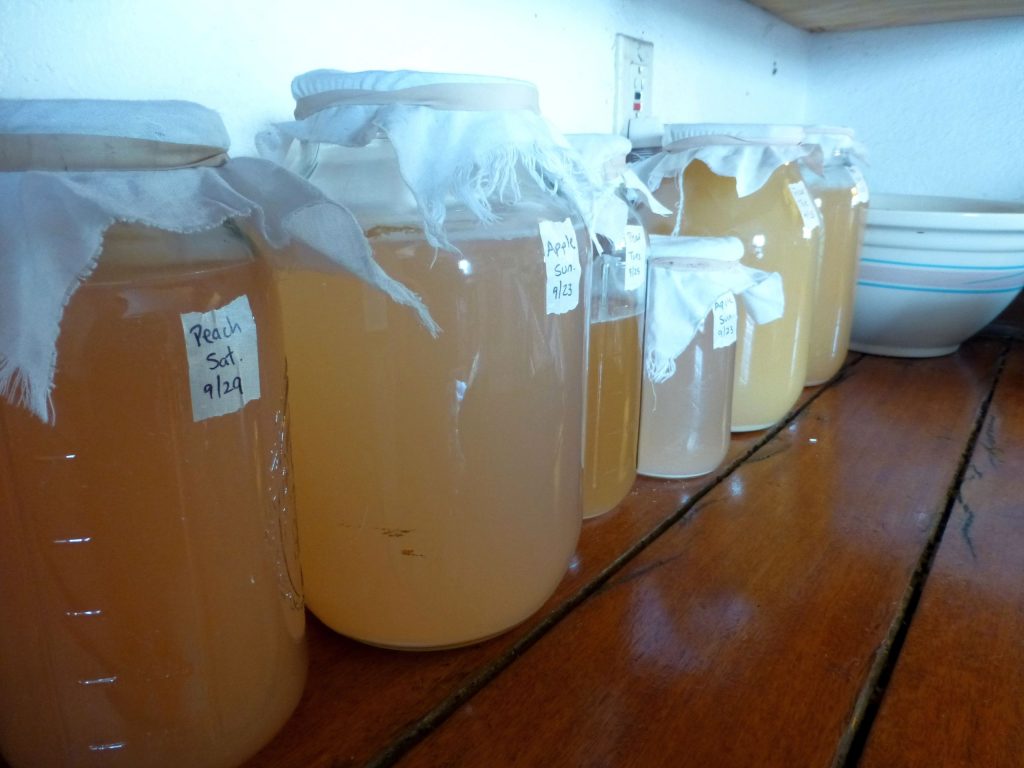
After draining the mash, pour the fermented liquid into clean, glass jars for the acidifying stage. Cover and secure with a breathable cloth and let sit undisturbed (without stirring) for anywhere from two to six months. During this time, the proto-vinegar will develop a revolting-looking scum on top. This is the acetic acid bacteria at work (the “mother”) and should be left alone. A thin layer of sediment will gradually settle at the bottom of the jars.
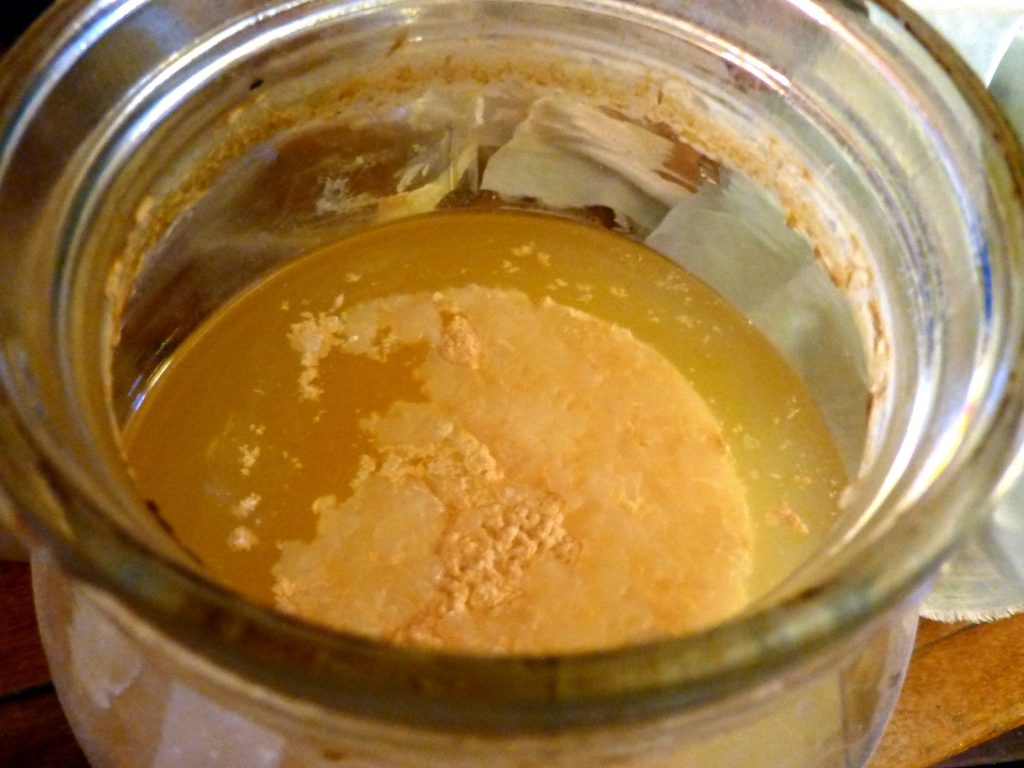
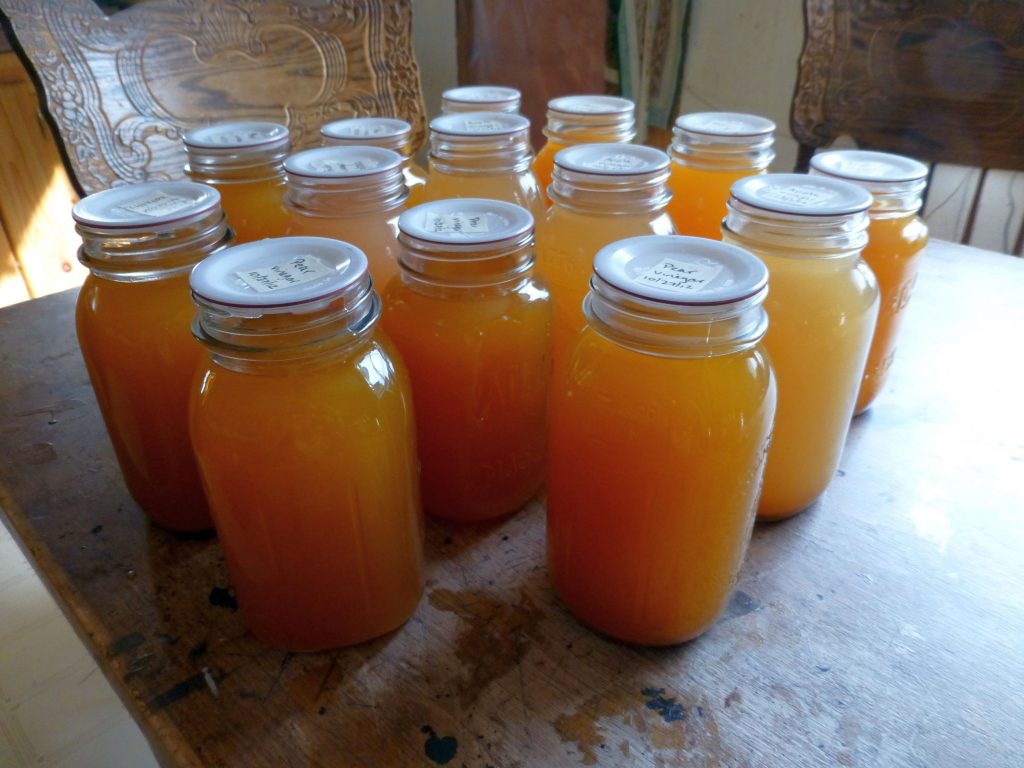
At the end of this process, you will have beautiful, fragrant vinegar.
Storing Vinegar
There are a number of ways to store the finished vinegar:
- Pour the vinegar into sterile bottles and use corks or plastic lids (never metal!) to seal them. The vinegar is still “alive” and can be used to seed future vinegar projects because it still contains living mother bacteria. The disadvantage is the vinegar will look cloudy because of the presence of the mother.
- Alternately, pour the vinegar through several layers of damp cheesecloth into clean jars and then pasteurize them. This is done by putting the jars (either corked or with a plastic lid) into a pot of cold water and gradually heat it to 145 degrees Fahrenheit. This temperature needs to be held for 30 minutes, then remove the jars and let them cool. The advantage of this method is the vinegar stays clear. The disadvantage is the “mother” is killed off and the vinegar cannot be used to seed future vinegar projects.
- For long-term storage, the vinegar can be water-bath canned for 15 minutes at a rolling boil, but only if using plastic tattler reusable canning lids. Vinegar cannot be stored with metal lids because the acid will gradually corrode the metal.
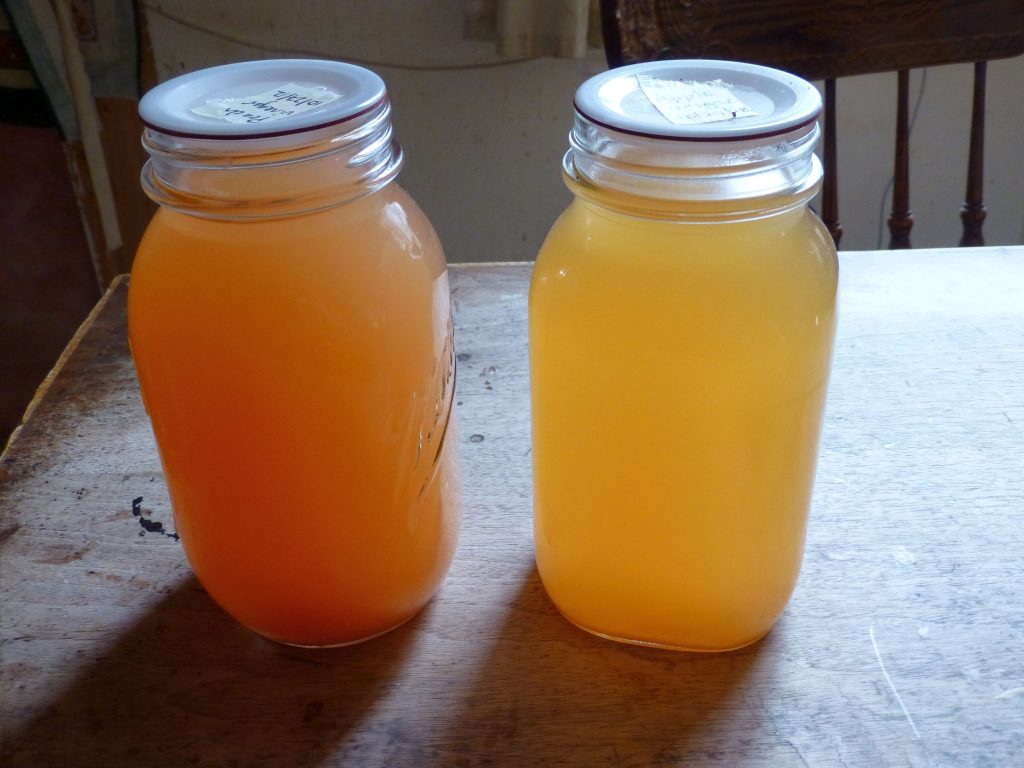
The Results
Fruit-scrap vinegar is fragrant and beautiful. Different fruits produce slightly differed colored vinegar — peachy-pink for the peach vinegar, amber for the apple vinegar, golden for the pear vinegar. It’s a wonderful addition to soups, stews, and even a splash in spaghetti sauce. Fruit vinegars also make an excellent base for a vinaigrette salad dressing. Some people like fruit vinegar for hair rinses as well.
A Few Tips
- The smaller the fruit waste, the faster the fermentation.
- Oxidized (browned) scraps seem to make better vinegar than fresh scraps.
- Do not use metal containers while fermenting the fruit or acidifying the liquid. Glass jars, ceramic crocks, or food-grade plastic works.
- If your fruit is not organic, it would be best to scrub or wash the fruit before peeling so the peels won’t have pesticide residue during the fermentation process.
- The wider the mouth, the more wild bacteria will be captured, and the faster the fermentation process will happen.
- If you see a scum forming on top, don’t disturb it; this is the mother. Eventually the mother will sink toward the bottom and continue its work. However, if you see mold forming on top, by all means skim that off. Mother isn’t moldy; it’s scummy.
- If you have chlorinated city tap water, you might want to purchase distilled water to use for vinegar since the chemicals in urban water can kill or contaminate the mother.
- Homemade vinegar should not be used for canning pickles or other fermented foods. Vinegar for canning needs to be at 5% acidity level, and homemade vinegar varies wildly in its acid content. Even pH test strips cannot accurately gauge proper acidity levels in homemade vinegar.
Making fruit vinegar allows you to utilize the fruits of summer — from beginning to end. Enjoy!
PATRICE LEWIS is a wife, mother, homesteader, homeschooler, author, blogger, columnist, and speaker. An advocate of simple living and self-sufficiency, she has practiced and written about self-reliance and preparedness for almost 30 years. She is experienced in homestead animal husbandry and small-scale dairy production, food preservation and canning, country relocation, home-based businesses, homeschooling, personal money management, and food self-sufficiency. Follow her website http://www.patricelewis.com/ or blog http://www.rural-revolution.com/.


