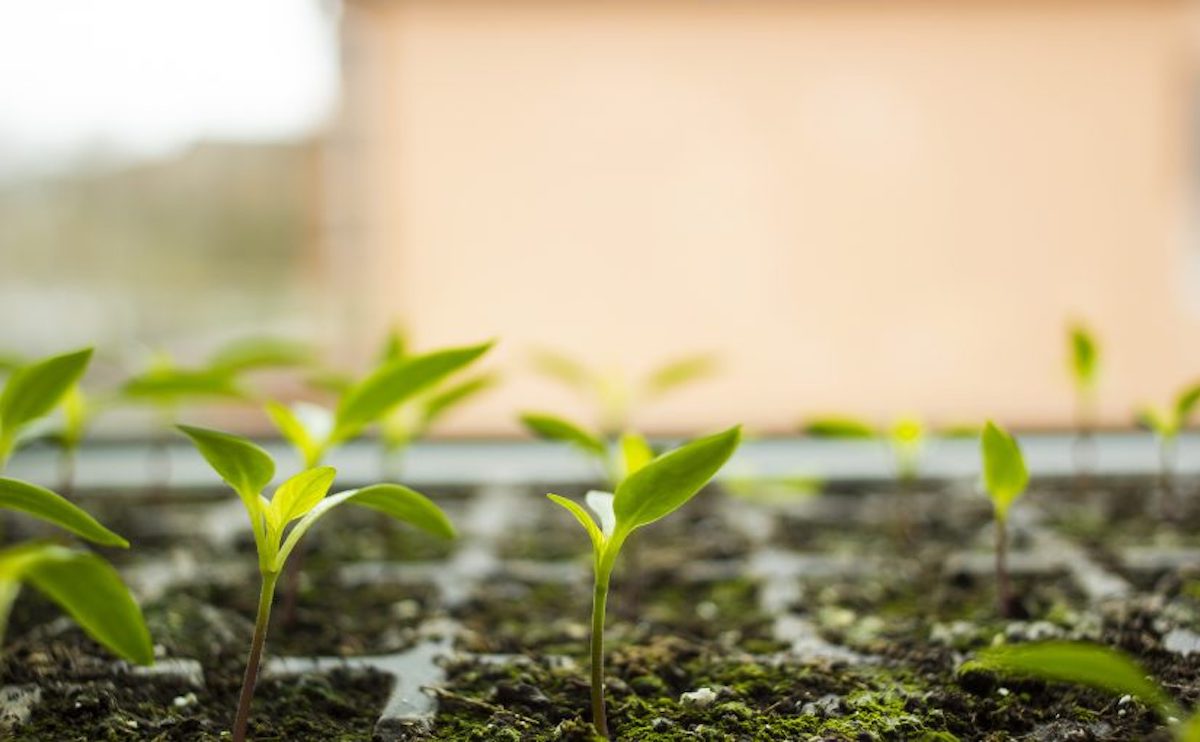
Starting Your Own Seeds
Growing Seedlings is Rewarding and Fun for All Ages
Reading Time: 3 minutes
Starting your own seeds saves considerable money over buying plants from a nursery. It also avoids introducing devastating bacteria and fungi to your garden.
Read the Package
Seed companies want you to come back because you liked how their seeds grew. Observe climate zones, sunlight requirements, and seasonal recommendations for best crop growth.
Days to Harvest
Tomato, pepper, and eggplant seed packages may say 85 days to harvest, but those 85 days start when you transplant them into the ground. In a direct-sow crop, those days start at germination.
Seeds, Starts, or Rootstock
While most crops grow best from seeds, sweet potatoes grow best from slips, nightshade potatoes from “seed potatoes,” onions from sets, garlic and shallots from cloves/bulbs, artichokes and horseradish from rootstock, and fruit trees from grafted saplings.
Direct Sow or Transplant?
Corn, peas, and beans prefer direct sowing, and squash/pumpkins are very susceptible to transplant shock. But for fruiting nightshade plants such as peppers, tomatoes, and eggplant, starting early then transplanting can give you a jump on the growing season. Any crops from which you eat the root or tuber, such as carrots, radishes, and potatoes, should always be sown directly into the ground. However, you can try growing potatoes in a bag or bucket and have great success.
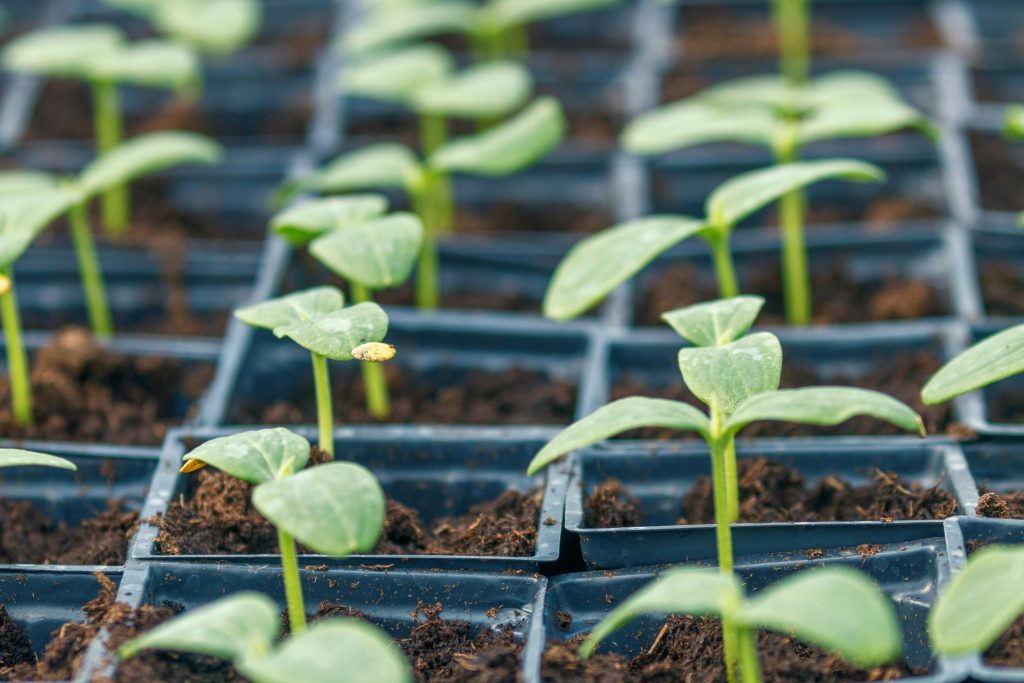
Safe Soil
Using dirt from an existing garden may introduce diseases such as early blight. Start seeds in a sterile medium such as seed starting mixes or brand-new potting soil. Order only certified seed potatoes. Be wary if someone offers you starts using soil from their own gardens.
Seed Depth
Don’t plant seeds deeper than twice the length of the seed, or they
may not sprout.
Germination Temperatures
Add 10 degrees to the individual crop’s optimal grow temp. Peas can germinate at 40 degrees F while eggplant may need a seedling heat mat to attain 80 degrees F. Planting a seed in soil that is too hot or too cold may mean the seed perishes before it can sprout.
A Moisture Balance
Once you sow, do not allow soil to dry out. Water with a fine mist and don’t dump water directly onto seeds or seedlings. But be sure soil is well-drained, so seeds don’t rot from too much moisture.
Ventilation is a Lifesaver
“Damping off” occurs when wet soil allows specific seedling-killing fungal growth. The stem looks pinched and the seedling falls over and dies. Allow for air flow, meaning you will need to water at least every other day, depending on your temperatures.
Grow Lights or Windows?
When growing seedlings indoors, sunny windows aren’t enough, unless they allow direct sunshine from three angles and all day. Grow lights must be within one to two inches of the plant for optimal growth. Inadequate light means spindly plants.
Fertilize Slowly
When starting your own seeds, do not apply conventional fertilizers until seedlings have at least four true leaves. Apply aged compost at any time, but in moderation.
Hardening Off
If your seedlings enjoy the sun from the moment they sprout, you don’t need to harden them off, but seedlings started in a seasonal greenhouse or under plant lights must be gradually introduced to the sun or they will sunburn and very possibly die.
If you’ve started your own seeds, we would love to hear any other tips you have learned along the way. Please share them in the comments below!
Originally published in the May/June 2020 issue of Countryside and regularly vetted for accuracy.


